
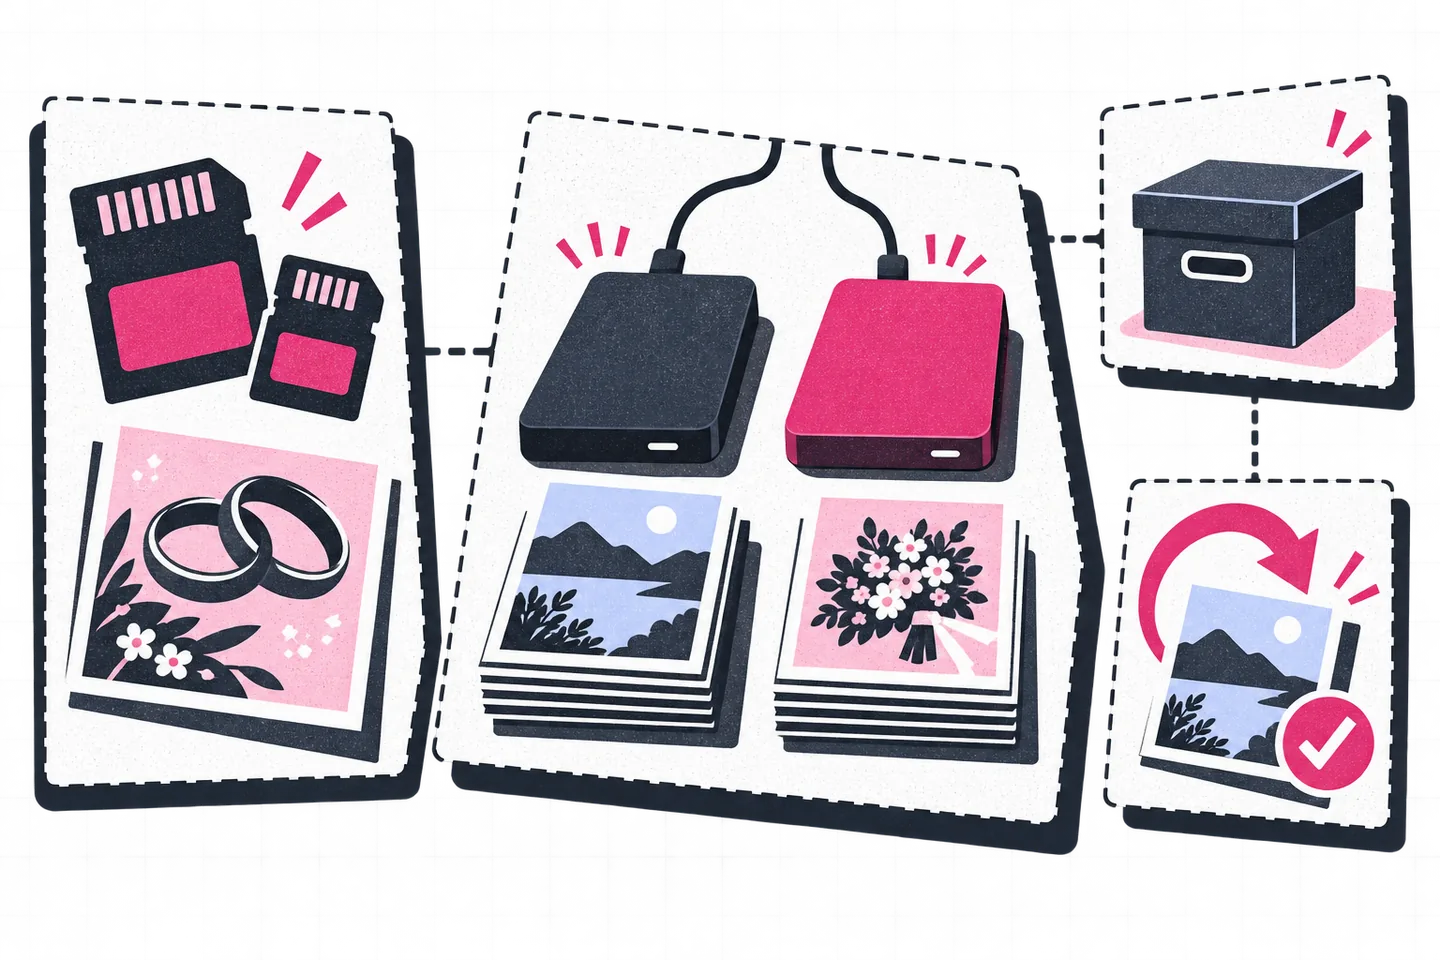
A wedding can leave a photographer with cards from two cameras, several parts of the day and thousands of files that look similar by name. A wedding photo backup workflow should make it possible to answer four questions at any point: Which card held these files? Where are the working originals? Which independent copies have been checked? Could the photographs and edits be restored if the working drive disappeared?
Identify the job and every card before ingest
Create a job identifier that is unique to the event, such as its date plus a short client or project code. Use that identifier on the ingest folder, backup folders and written log. Label each card or card case with a distinct card ID, and record which camera used it. “Camera A, card 03” is more useful than “last card,” especially when cards have similar filenames or a camera has restarted its numbering.
Keep used cards physically separate from blank ones. A simple log can record the job ID, card ID, camera, approximate contents, ingest time, destination paths, file count and verification result. If a card contains photographs from another event, record that fact and place its files in the correct job folder during ingest. Do not rely on a folder named only “Wedding” or on the camera’s filenames to keep two jobs apart.
Copy each card into its own folder beneath the job, retaining the card ID even if files will later be renamed or organized by part of the day. This preserves a path back to the source when a filename appears twice. The National Archives recommends basic identifying metadata and clear file names as part of caring for digital photographs.
Make two copies, then check what arrived
Copy the originals to a working location and a separate backup destination. The working folder is where files will be organized and edited. The second destination should be a different drive or storage system, rather than another folder on the same disk. Keep the card unchanged while both copies are being made and checked. A transfer window closing without an error is a useful signal, but it does not establish that every intended file reached both destinations.
For each card, compare the number of source files with the number in each destination folder. Include relevant video files and sidecars if the camera created them. Check that folder sizes are plausible, then open a selection of files from the beginning, middle and end of the card on both destinations. Include files from each camera and file type. This catches obvious omissions and unreadable examples; it cannot prove that every byte of every file is intact. For a stronger check, use a copy tool that compares files after transfer or generate checksums and compare them between the source and destinations.
Record the result beside the card ID. If counts disagree or a sample will not open, leave the card untouched, investigate and repeat the copy before marking it complete. Only clear a card under the studio’s card-reuse procedure once the required independent copies have been verified. A card waiting for that decision should remain clearly marked as used.
Lightroom Classic can help create the initial second copy: its import options include “Make A Second Copy To” for original files. Check the selected destination and the resulting files as carefully as a manual copy. Adobe describes this as a one-time copy and still advises regular backup of both photographs and catalog.
Protect the photographs and the Lightroom catalog separately
The original photographs and a Lightroom Classic catalog serve different purposes. Originals are the source files. The catalog records the editing and organizational work associated with them. Delivered JPEGs are another set of files again. Losing any one of these may leave the others available, but it can still mean lost work or an incomplete client archive.
Set a catalog backup schedule that fits the editing cycle and save those backups away from the working catalog. Check that the backup actually completed, especially after substantial editing. Keep the original photograph folders in their own backup routine, along with any files created during editing that would be needed for a full recovery. Back up the final delivered JPEGs as a distinct deliverable set. Adobe states that Lightroom Classic’s catalog backup includes only the catalog file; edited photographs and exports need independent backup.
A network-attached storage device can be a useful working or backup destination. RAID can keep some storage systems available after a drive failure. Neither, by itself, puts a copy off-site. If a laptop and NAS are in the same room, theft, fire or another local incident can affect both. A separate off-site destination addresses a different kind of loss. The National Archives’ 3-2-1 guidance calls for three copies on two kinds of media, with one copy off-site. The exact equipment can vary; the separation of copies is what matters.
Consider how quickly a deletion or damaged file could spread between destinations. A continuously mirrored folder may promptly reproduce an unwanted change. Versioned or otherwise protected backups give an earlier copy a chance to survive. Write down where each copy lives and who can access it. A backup whose location or credentials cannot be found during recovery is less useful than its status indicator suggests.
Keep an archive plan with a defined retention period
Once editing and delivery are complete, make a compact record of what the job archive contains: original card folders, the catalog backup, any necessary edit files and the exact JPEG set delivered to the client. Record the delivery date, backup locations, latest successful checks and the retention date assigned under the studio’s stated policy. Keep the inventory with the job record, and preserve a copy separately from the storage it describes.
Retention should be a deliberate policy, not an implied promise of indefinite storage. For example, a studio can set separate review dates for source files and delivered JPEGs, then check them against its client agreement and operational needs. The article cannot supply a universal period for every photographer or client. What matters is stating the applicable period accurately, tracking when it begins and reviewing the job before any scheduled removal. Clients should keep their own copies of delivered photographs as well.
Set a recurring check for active jobs and retained archives. Confirm that backup jobs completed, that the off-site copy is present and that the inventory still matches the folders. At intervals, compare stored checksums or run another integrity check, particularly after moving an archive to new storage. The National Digital Stewardship Alliance’s preservation guidance calls for checking file integrity at fixed intervals and maintaining records of those checks. Investigate any failed check.
Test a restore before one is urgently needed
A backup is most convincing when it can be used. Choose a job and restore it to a temporary location, leaving the live working copy untouched. Retrieve several originals from the independent backup, open them, and compare them with the inventory or saved checksums. Retrieve a delivered JPEG and confirm that it opens. Then restore a catalog backup and check that it opens with the expected work; reconnect the restored originals if their paths have changed. Adobe’s catalog restore instructions describe opening a backed-up catalog, but the photograph files must be available separately.
Record the date, job ID, backup source, files tested and any repair made. If a restore reveals missing originals, an old catalog or an incomplete delivery folder, correct the archive and test again. Run a fresh restore test after changing backup software, storage devices or folder structure. These checks take time, but they turn an assumed safety net into a process that has been exercised.