
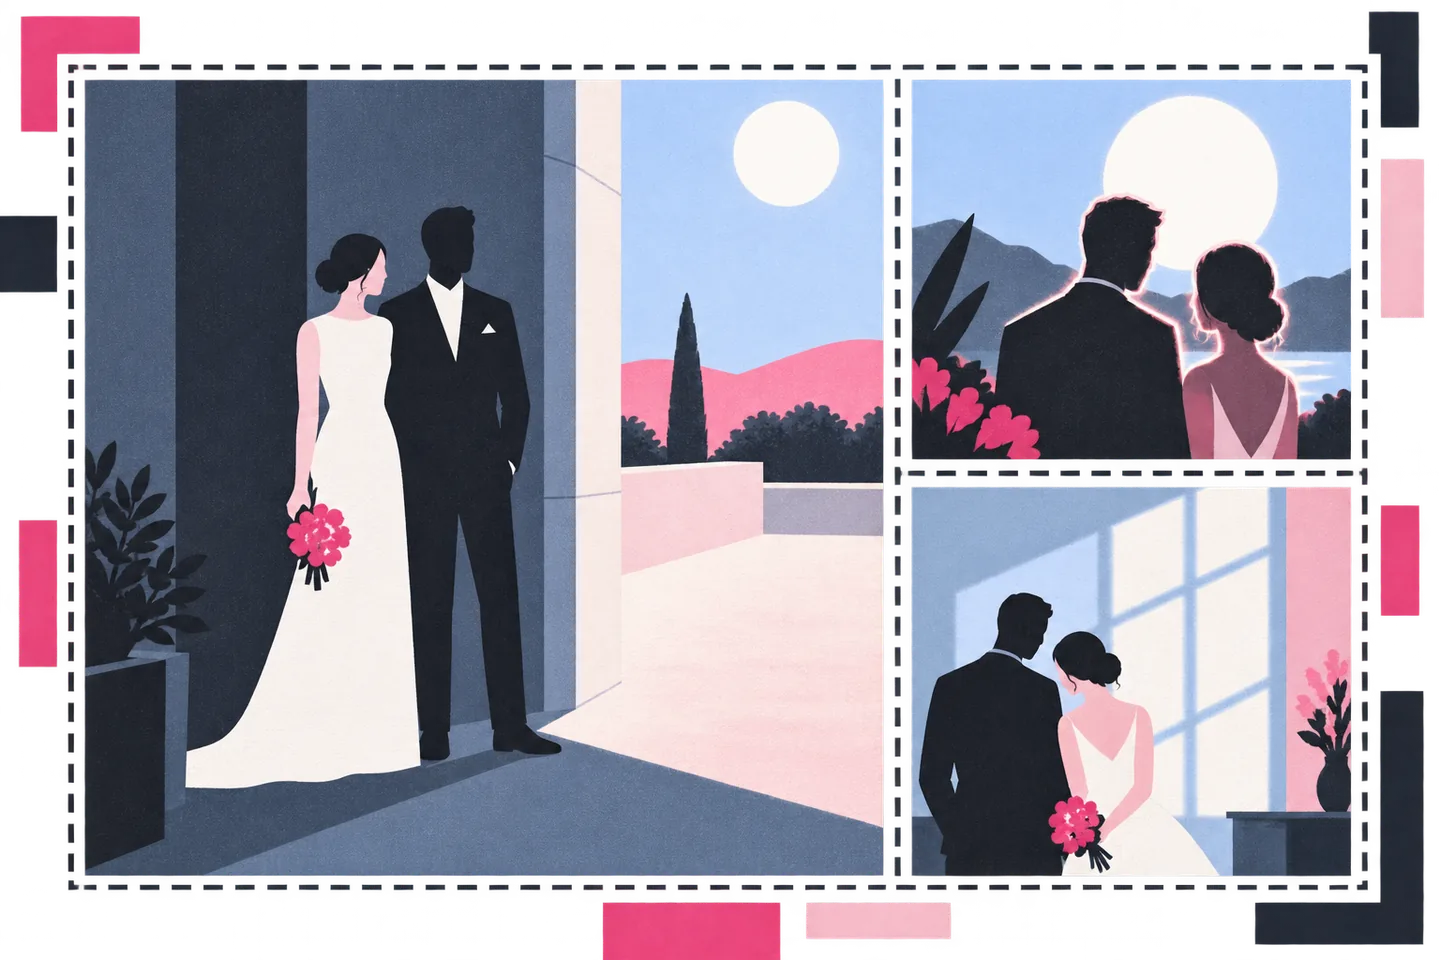
A wedding day does not always leave room to move portraits into the gentlest light. The ceremony may end at noon, guests may be waiting, or the couple may have one brief opening before the reception. Good natural light wedding portrait planning begins with the light available in that opening. The aim is to find a place where both faces look beautiful, make a clear choice about the background, and leave enough time to respond when the sky changes.
Scout the light before choosing the portrait spot
Visit the venue, if possible, close to the time portraits are expected. Begin by looking at the direction of the sun. Where will it fall on the couple’s faces? Where will it fall behind them? A courtyard that looks calm in the morning may have a bright strip across one person’s eyes at noon. A shaded wall may work beautifully until the shadow moves out of reach.
Look for three usable options within a short walk of one another: an outdoor area with open shade, an indoor space with window light, and a place where the sun can sit behind the couple. Check the light on faces in each position, rather than judging the empty backdrop alone. A small turn can remove a patch of sun from a forehead; a step away from a wall can give eyes more light. Nikon’s wedding lighting examples show how a photographer can work with a known direction of sunlight or position a subject beside a window, then shape the portrait within that particular space. See Nikon’s wedding light and location examples.
Open shade is often the first midday option to test. The couple stands outside the direct beam but still receives light from the open sky. Check that both people are fully in shade: a sharp line crossing a shoulder, veil, or face can be more distracting than an entirely sunlit portrait. Also check what the shade reflects. A pale wall may lift faces gently, while a strongly colored surface can change the color of skin and white clothing. Adobe’s portrait lighting guidance specifically suggests building shade and nearby light-colored surfaces as options when midday sun creates hard facial shadows. Read Adobe’s portrait lighting guidance.
Window light offers a different mood when outdoor shade is too narrow, too crowded, or unavailable. Stand the couple near the window and turn them until both faces receive useful light. Look beyond the window, too: direct sun through glass can make a bright patch on the floor or dress, while a dim room may call for a closer portrait instead of a wide scene. Confirm that the room is accessible during the portrait window and that it has enough uncluttered space for the photographs the couple wants.
Plan exposure around faces and clothing
In hard sun, the brightest and darkest parts of a scene can pull in different directions. A white outfit may catch full sunlight while a dark suit falls into shade; faces may be shaded even though the background is brilliant. Before moving through poses, make a test frame with both people together. Inspect the faces and the lightest clothing. If detail in a sunlit garment is disappearing, change the couple’s position or the background rather than assuming an exposure adjustment will solve every contrast problem.
For a high-sun example, imagine the only available outdoor space is a terrace at noon. Place the sun behind the couple, choose an angle that keeps direct light out of their eyes, and make a test portrait exposed for their faces. The result may have a bright edge around hair and shoulders and a lighter background than a shaded portrait would. Nikon’s bright-sun tip describes this placement—subject between camera and sun, exposure chosen for the face—as a way to work with harsh light. Read Nikon’s bright-sun technique. If a pale dress loses important detail against that bright background, move to a darker backdrop or bring the couple into even shade. Do not promise that every part of a high-contrast scene can look equally detailed.
For the soft-light alternative, use the shaded side of the terrace or the nearby window. Position both faces in the same broad pool of light, then choose a background that does not compete with them. This may produce a quieter portrait, with less sparkle at the edge of the frame but gentler transitions across faces and clothing. A closer composition can also make a modest patch of good light feel intentional. The goal is a cohesive set of portraits, not proof that every frame was made in the most dramatic spot.
Cloud cover can simplify the exposure decision by softening direct sun, but it can also change quickly. Take a fresh test frame when the light changes, especially if the couple moves between an exterior wall and a window. Keep the first dependable setup close enough that a cloud passing—or the sun returning—does not consume the whole portrait window in travel and rearrangement.
Keep a reflector or fill light as a considered fallback
A reflector can return available light toward a shaded face. It is useful when the chosen composition works but the light needs a modest lift. Test it with both people in place: an awkward angle can create a bright patch on one face or make one side of a light outfit noticeably brighter. If a reflector requires an assistant, enough room to hold it, or time the couple does not have, it may be less useful than moving a few steps to better light.
Fill light is another option when the scene matters to the couple and natural light alone leaves faces too dark. It changes the lighting approach, so it should be discussed as a possible tool rather than folded into a promise of exclusively natural-light portraits. Nikon’s wedding examples include both redirected window light with a reflector and scenes that use flash when the available light does not give the photographer the intended result. Explore those lighting choices in Nikon’s wedding examples. For a couple who prefers an available-light look, the better fallback may be the window or open shade, even if that means giving up a particular background.
Make one portrait window work: a site-visit checklist
A short site-visit note is easier to use on a busy wedding day than a list of attractive corners. Record the first location, a nearby alternative, and the condition that would make you move. For a midday portrait window, check these options:
- Direct midday sun: Test open shade beside the building. Check both faces, eyes, and any moving sun stripe across clothing.
- Shade occupied or too small: Try the terrace with the sun behind the couple. Check faces, pale clothing, background brightness, and flare.
- Terrace too harsh or uncomfortable: Use the accessible window room. Check light on both faces, direct patches through glass, and space for two people.
- Cloud or light rain: Use a sheltered position or the window room. Recheck exposure, footing, and dry clothing.
These are choices, not promises that each space will be available. Note access restrictions and walking time, and confirm who can open an indoor room. Keep the first two locations close together. If time becomes tight, photograph the essential two-person portraits before trying other backgrounds.
Tell the couple what can change
Ask whether the couple cares most about a particular view, soft light, or a few minutes away from the crowd. Explain the trade-off before the day: a wide sunlit scene may have stronger contrast, while open shade or a window may show less of the venue. If weather changes, position, framing, and sometimes the order of portraits can change. The sun and the agreed schedule cannot.